Announcement

Collapse
No announcement yet.

New Fold Up Garage Sim

Collapse
X
 
  • Filter
  • Time
  • Show
Clear All
new posts

  • New Fold Up Garage Sim

    Hey all,

    I've been planning and slowly working on my build as time and the budget has permitted.

    My biggest drawback from not doing the build earlier was the garage door opener being in the middle of the garage which did not allow for any clearance. I shelled out ~$700 to get an "I Drive" (liftmaster 8500) garage door opener installed.


    Once the opener was installed the fun was able to start! I went with 1" EMT to make my 12'x9' enclosure. My ceiling height at the end of the garage is about 9'6" and my garage door itself is 16' wide but there is a bulkhead to the left of the picture that didn't allow the fold up nature of this to go wider.

    I used this tube cutter pictured here which was pretty easy to use and didn't take that long to cut each piece.


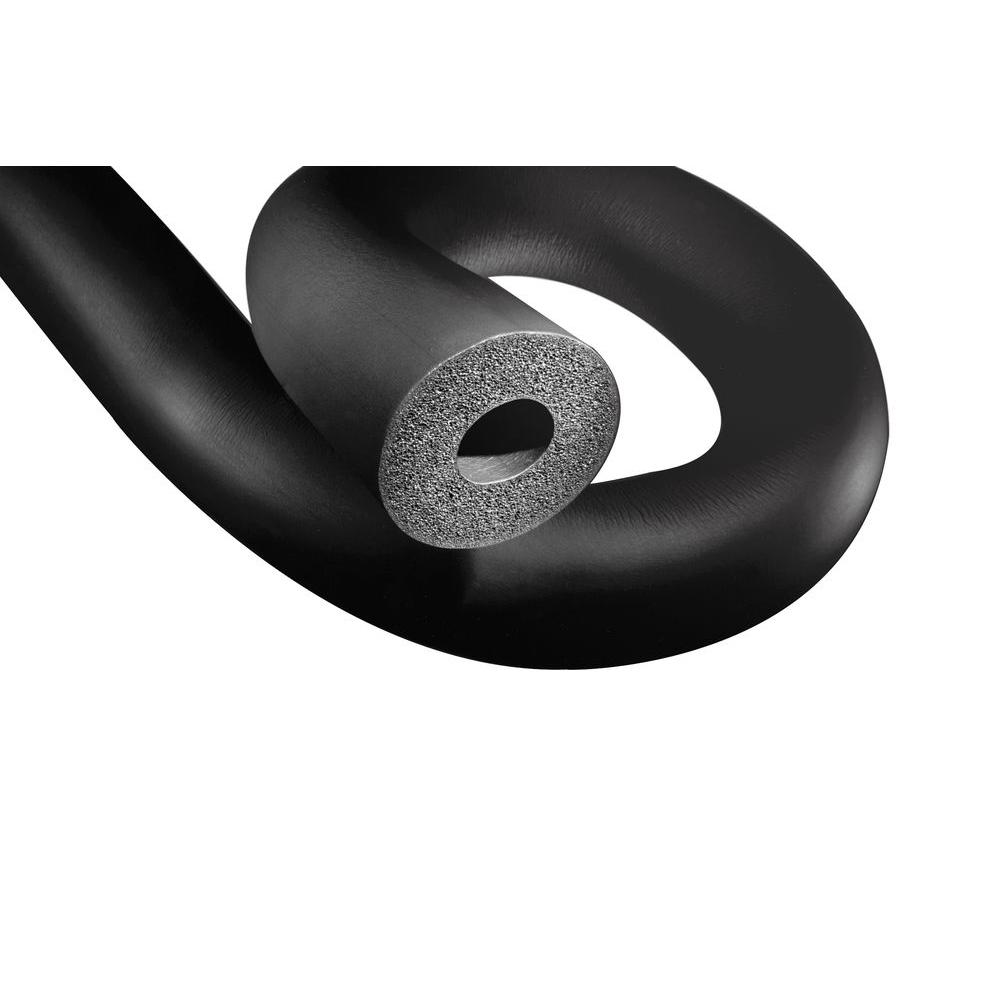
    I will be changing out the eye bolts on the frame to a regular 1/2" hex bolt to allow for tube insulation to be installed nice and tight.


    Once the frame was put together I attached 4 eye lag bolts in the ceiling so the frame could pivot up and down. I used 4 Husky velcro straps (rated at 100 lbs each) to allow for this. I used 75 lb rated bike hooks on the end that swings up and had to bend them a bit since my floor joists weren't quite close enough for them to sit on.


    When the frame is up I have about 3" of clearance for the garage door but I wanted a bit more clearance so I got some 5" lag bolts and countersunk them into 2x4's so after they are on the bike hooks I can get up on the step ladder and just lift the frame up and pivot the 2x4 around to support the frame. I now have closer to 6" of clearance.


    As part of this build I also did a 6'x6' DIY truestrike mat with gel underneath. I had to cut two separate pieces of 4'x8' plywood into 3'x6' and screwed them together with pocket holes using a Kreg Jig. I used a jigsaw to cut the holes out and used saran wrap to wrap the gel since it was very hard to handle the gel since it was sticky. I used gorilla tape on both the back and front of the plywood so the gel wouldn't fall out. I used 3/4" screws to attach the hitting mat to the plywood. The hitting mat is a 6'x'6 premium residential from allturfmats.


    I did the same countersunk 2x4 with a 5" lag bolt to snug the hitting platform to the wall and then used eye bolts to attach the 12'x9' turf floor to the wall with some spare Husky velcro straps to get the turf off the floor.


    The last pieces to the puzzle will be adding a 6'x32' roll of carpet to the frame as a blackout shade and to prevent any mishits. Once I complete that I will pull the trigger on a screen, hopefully from the mill if I make the cut or I'll go Carl's Premium.

    After that all I need to do is buy my projector, BenQ 2150st and I'll be making a custom upright manual zoom ceiling mount so I can adjust from 16x9 to 4x3.

    Last but not least, I'll be buying a SkyTrak unit and be playing Pebble Beach in no time!


    Images:

    Discover the magic of the internet at Imgur, a community powered entertainment destination. Lift your spirits with funny jokes, trending memes, entertaining gifs, inspiring stories, viral videos, and so much more from users.
    Last edited by brg1875; 11-15-2017, 10:37 PM. Reason: embedded pictures

  • #2
    You should post some pictures of your frame and work done this far. Interested in the look.

    Comment


    • #3
      Looking good. How are you going to prevent strikes to the bottom of your frame?

      I was curious by the Liftmaster 8500, so have just been looking at it. All the reviews on their own website aren’t great - stating that if the unit fails, the door opens and stays open. Lots of people have experienced this.
      Not what I’d want with lots of expensive golf gear in my garage!

      Comment


      • brg1875
        brg1875 commented
        Editing a comment
        I haven't had any issues with it and there are a few fail safes for example there is a cable tension monitor so if there is any slack or if the opener jerks it will stop immediately. Secondly there is an emergency release cord so if the garage does fail you can still close it unless there was something else that prevented that.

      • p3eps
        p3eps commented
        Editing a comment
        The latest 10+ comments all say that they’ve woken up in the morning to find their door wide open. There seems to be an issue that after a set period there is some sort of failure of a part. When this happens, it opens the door.

        Seems a nice space saving solution though.

    • #4
      As far as preventing strikes to the bottom of the frame I will be going with a rubber insulation to go around the frame. I'm not going with the foam (pool noodle) kind because it seems to have a lot more spring to it. The rubber seems like it should have enough give to deaden a direct blow.

      Armaflex 1-1/2 in. IPS x 3/8 in. Rubber Pipe Insulation - 96 Lineal Feet/Carton

      When I pull the frame down I'm going to play on placing the 12'x9' turf that is on the ground over the bottom portion of the frame to cover the rubber insulation so hopefully any mishits are leading towards the screen. Only time will tell.

      Comment


      • inorkuo
        inorkuo commented
        Editing a comment
        if the rubber doesn't work, this worked for me.

        one other person said he tried these and it didn't work for him, so your mileage may vary. for me, when the ball hits the 45 degrees angled foam, the ball is directed upwards, glances off of the screen, then hits the top netting. if you don't have baffles installed up top, it will still come back at you, but not fast enough to cause serious injury. I've not been hit yet, but i'm guessing, worst case scenario would be a black eye.

        I have yet to install baffles and have hit several shots into the the foam and even with driver it does the job. however, i am concerned about my projector being hit as there have been some close calls. It is on my list of to do's for this weekend.

      • brg1875
        brg1875 commented
        Editing a comment
        inorkuo, I'm leaning your route with the angled foam. How did you attach the foam to the frame? Tape, zip ties? It looks like there is an adhesive backing that come with it.

        Also do you have a link you can share to see what it looks like finished? I tried searching your profile with no luck.

        Lastly, do you think it would be beneficial to wrap the foam in towels or something to deaden the blows a bit more?

      • inorkuo
        inorkuo commented
        Editing a comment
        I used packing tape. I'll take some pics and post them. wrapping them would probably help but I've not tried that.

    • #5
      I think fold down is ideal for garages. Laying out my space has been a challenge and I haven't even started yet.

      Comment


      • #6
        Great work!!!!! I think you are on the right track.....keep posting

        Comment


        • #7
          Looking good! Can't wait to see it finished!

          Comment


          • #8
            Is the screen going on the front or back section of the frame?

            Comment


            • #9
              I'll be wrapping the screen around the back of the frame and attaching the screen via tarp clips and ball bungees on the front part of the frame.

              Comment


            • #10
              My inspiration was based on this post here:

              I thought I would add my garage simulator to the site to help anybody else with ideas and to help them with their addiction!! This website and the people on here


              So in theory I would have 4 exposed bars. The thing I liked about this one is that it's all self contained when folded up.

              I guess I could hang the carpet on the inside so there is a buffer between the emt. For example if my frame is 12'x9', hang the carpet so the dimension of the screen is 11'10" by 8'10". Then I may be able to take out the bottom emt rails but I would be concerned with a worm burner going underneath.

              The screen I was going to order was going to be 13'*10' so it would wrap around the frame with extra to spare to tighten and loosen as needed.

              Comment


              • #11
                here's some pics. bottom left is from the front. bottom right is from behind.

                Comment


                • #12
                  Thanks for posting this! Since my screen is going to be wrapped around the back of the frame I'll have to have the foam wedge exposed on the front which won't be the end of the world.

                  Comment


                  • #13
                    So I found a solution that I think will work really well to cover the bottom emt. I ordered 6 "body wedges" that I'll place together to create a ramp which will cover both the back emt rail of the enclosure and the front. For my 12' frame I need 6 of them at $7 each. The dimensions in the picture aren't representative of the what I purchased but it will give you an idea. $60 total, $42 for the foam and $18 for shipping.

                    https://www.foamsupport.com/shop/car...uct_detail&p=6

                    The dimensions that I bought are 4" thick, 27" wide by 24" long. My frame width is about 12" so this will be perfect. I'll place the foam down and then put my astro turf flooring over it. The angle is less than 45* so the ball will deflect into the screen instead of shoot up (I hope).


                    Secondly, I purchased a black canvas for the enclosure. I am going to attach one continuous piece inside the frame with zip ties which I'll need about 30 feet (9' left side of enclosure 12' top, 9' right side). I'll cut it about 34 feet so there is some extra that will tuck underneath the astro turf. The canvas was $5/yard. I ordered 14 yards so I had some extra in case I want to velcro the foam to a piece of canvas. Shipping was $28 so total was just under $100.

                    http://www.bigduckcanvas.com/discoun...arhartt-black/

                    I'll be ordering my screen today and I can put all of this together next week hopefully.

                    Comment


                    • #14
                      So I've finally had a chance to put up the screen and it's starting to come along! I was able to hit my first balls into the screen last night, a few half wedges and a few easy knockdown 7's. Bounce back is great on the Carl's Premium. I attached the screen behind the frame to make it a full enclosure.


                      I put the frame up on some jack stands I had so I could wrap the screen under the backside, worked perfectly.


                      There's a little wave in the bottom but I'll just adjust where the ball bungee is at on the bottom.


                      Comment


                      • #15
                        My only concern that I have is I left the screen loose enough so there is very minimal bounce back right now but when I pull it back up into the ceiling the screen sags and is rubbing ever so slightly when the garage opens. The frame itself has about 5"-6" of clearance.

                        Do I pull the screen a little bit tighter or do I maybe take two pieces of rope and run it around the back vertically of the frame to pull the screen closer so it doesn't sag (if that makes sense).


                        Lastly, I think I'm going to need to get a winch. Where my bike hooks are with the floor joists I really have to pull the frame towards them when I'm on top of the step ladder which doesn't make me feel too safe. If I was able to pull the bike hooks 2 inches closer towards the garage door I would be fine. I guess I could effectively put a 2x4 block between the two joists so I could do that but looking at winch's they'll be $75-$100.

                        Comment

                        Working...
                        X